Appearance
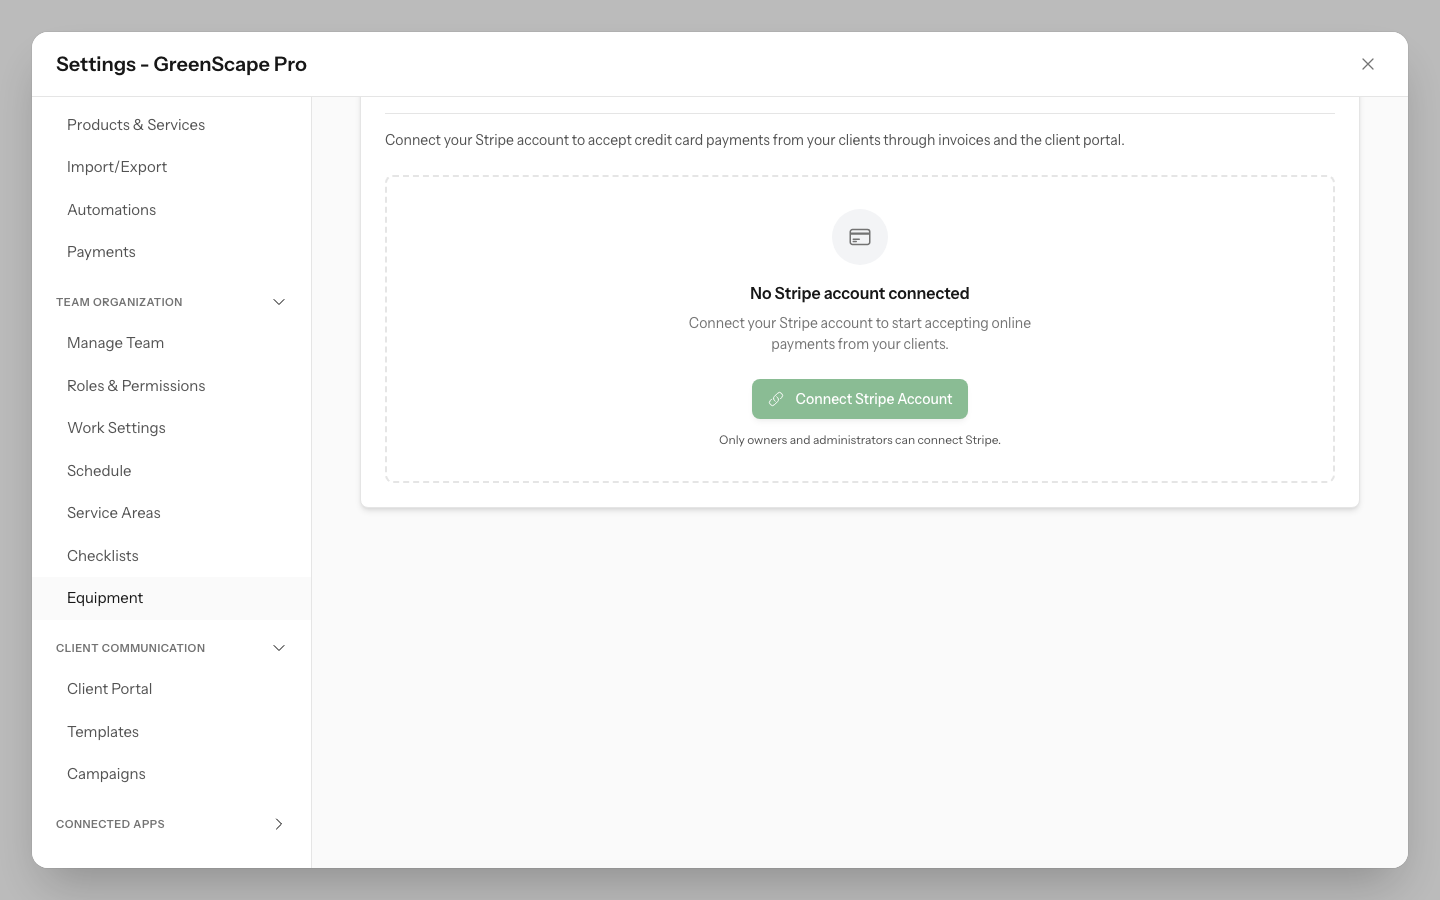
Stripe Payments
Accept online credit card and bank payments directly through YardPilot. Payments are processed securely by Stripe and deposited directly into your bank account.
Benefits
- Get paid faster - Clients pay invoices instantly online
- Automatic recording - Payments sync to your invoices automatically
- Professional experience - Branded checkout with your company logo and colours
- Secure - PCI-compliant, YardPilot never sees card details
Connecting Stripe
Only Owners and Admins can connect Stripe.
- Go to Settings → Payments
- Click Connect Stripe
- You'll be redirected to Stripe
- Follow the Stripe onboarding steps
- Return to YardPilot when complete
Click to enlarge
First time with Stripe?
You'll create a Stripe account during onboarding. Have your ABN and bank details ready.
Account Status
After connecting, your account status appears in Settings → Payments:
| Status | Badge | Meaning |
|---|---|---|
| Connected | Green | Account fully set up, ready to accept payments |
| Setup Incomplete | Yellow | Additional information needed to complete setup |
| Restricted | Red | Account has restrictions preventing payments |
Checking Your Status
- Go to Settings → Payments
- View the status badge next to "Stripe"
- Click Refresh Status to get the latest from Stripe
Completing Verification
Stripe requires identity verification to protect against fraud. You may need to provide:
Identity Documents
- Passport or driver's license
- Photo must be clear and legible
- Document must be current (not expired)
Business Information
- ABN - Australian Business Number
- Business address - Where your business operates
- Business description - What services you provide
Bank Account
- BSB and account number - For receiving payouts
- Account must be in the business name or owner's name
Action Required
If verification is incomplete, you'll see an Action Required or Additional Information Needed section listing exactly what's missing:
- Go to Settings → Payments
- Review the list of required items
- Click Update Account Information
- Complete the items in Stripe
- Return to YardPilot and click Refresh Status
Urgent Items
Items shown in amber are past due and may prevent you from accepting payments or receiving payouts. Complete these immediately.
Payout Schedule
Choose when Stripe sends your earnings to your bank:
| Schedule | When Payouts Arrive |
|---|---|
| Daily | Every business day (default) |
| Weekly | Same day each week (e.g., every Friday) |
| Monthly | Same date each month (e.g., the 15th) |
Changing Your Payout Schedule
- Go to Settings → Payments
- Find Payout Schedule
- Click Edit
- Select your preferred interval
- Choose the day (for weekly) or date (for monthly)
- Click Save
TIP
Payouts typically arrive in 2 business days after the scheduled date.
New Account Payout Delays
When you first connect Stripe, your initial payouts may be held for 7-14 days regardless of your payout schedule setting. This is Stripe's fraud protection for new accounts. After your account establishes payment history, holds will reduce to the standard 2-day period. You can check the expected arrival date for pending funds in your Stripe Dashboard.
Stripe Dashboard
Access your Stripe Express Dashboard to:
- View detailed payment history
- Download reports and statements
- Update bank account details
- Manage tax information
Opening Stripe Dashboard
- Go to Settings → Payments
- Click Open Stripe Dashboard
- You'll be logged into your Stripe account automatically
Branding on Checkout
Your company branding appears on Stripe Checkout pages when clients pay invoices, creating a professional, branded payment experience.
What Appears on Checkout
- Company logo - Displayed prominently on the payment page
- Company name - Shows in the payment header
- Brand colour - Applied as the primary accent colour
Setting Up Your Branding
Your branding is managed in Settings → Company → Brand Assets:
- Upload your logo - PNG or JPG format (SVG not supported by Stripe)
- Set your brand colour - This becomes the primary colour on checkout
- Branding syncs to Stripe automatically when you save changes
Logo Requirements
For best results on Stripe Checkout:
- Use a square logo (1:1 aspect ratio)
- Minimum 100x100 pixels, recommended 512x512 pixels
- PNG or JPG format — SVG logos won't appear on Stripe
- Keep file size under 2MB
When Branding Syncs
Your branding automatically syncs to Stripe when you:
- Upload or change your company logo
- Update your brand colour
- Complete Stripe onboarding for the first time
No Action Required
You don't need to manually sync branding. YardPilot handles this automatically whenever you update your brand assets.
Troubleshooting Branding
Logo not appearing on checkout?
- Ensure your logo is PNG or JPG format (SVG is not supported)
- Check that Stripe onboarding is complete (status shows "Connected")
- Try re-uploading your logo in Settings → Company → Brand Assets
- Wait a few minutes for changes to propagate
Wrong logo or colour showing?
- Update your brand assets and save — the new branding will sync automatically
- Clear your browser cache and view the checkout page again
Accepting Payments
Once connected, clients can pay invoices online:
- Send an invoice to your client
- Client clicks View Invoice in the email
- Client clicks Pay Now
- Client enters card details on secure Stripe checkout
- Payment is processed and recorded automatically
- Both you and client receive confirmation
Transaction Fees
Stripe charges processing fees on each transaction:
| Payment Method | Fee (Australia) |
|---|---|
| Domestic cards | 1.75% + $0.30 |
| International cards | 2.9% + $0.30 |
Fees are automatically deducted from each payment before payout.
Security
- PCI Compliant - Stripe handles all card data
- 3D Secure - Extra authentication for suspicious transactions
- Fraud Detection - Stripe's machine learning blocks fraudulent payments
- No card storage - YardPilot never sees or stores card numbers
Disconnecting Stripe
To disconnect your Stripe account:
- Go to Settings → Payments
- Click Disconnect
- Confirm the disconnection
Before Disconnecting
- Pending payouts will still be processed
- Outstanding invoices won't have online payment option
- You'll need to reconnect to accept online payments again
Troubleshooting
"Setup Incomplete" status
Your Stripe account needs additional information:
- Check the Action Required section for missing items
- Click Update Account Information
- Complete all required fields in Stripe
- Return and click Refresh Status
"Account Restricted" status
Your account has been limited by Stripe:
- Check the restriction reason displayed
- Click Update Account Information to resolve issues
- If rejected, contact Stripe support directly
Payouts not arriving
- New accounts: Stripe holds initial payouts for 7-14 days as fraud protection — check your Stripe Dashboard for the expected arrival date
- Verify your bank account details in Stripe Dashboard
- Check your payout schedule settings
- Ensure your account isn't restricted
- Allow 2 business days for payouts to process after funds become available
Client says payment failed
Common reasons:
- Card declined by bank (client should contact their bank)
- Incorrect card details
- Insufficient funds
- Card flagged for fraud protection
The client should try again or use a different card.
Can't connect Stripe
- Ensure you're an Owner or Admin
- Check you don't already have a connected account
- Try a different browser or clear cache
- Contact support if the issue persists
Test Mode vs Live Mode
During development or testing, your account may show Test Mode:
- Test mode payments don't charge real cards
- Use Stripe test card numbers (4242 4242 4242 4242)
- No real money is transferred
When you're ready for real payments, your account automatically switches to Live Mode.
Next Steps
- Send your first invoice with online payment
- View payment reports for reconciliation