Appearance
Creating Custom Roles
When the system roles (Owner, Admin, Office, Field) don't quite fit your needs, you can create custom roles with exactly the permissions your team requires.
Who Can Create Roles
Only users with the Owner role can create and manage custom roles. Admins can view roles but cannot create or modify them.
Creating a New Role
- Go to Settings (gear icon in sidebar)
- Click Roles & Permissions
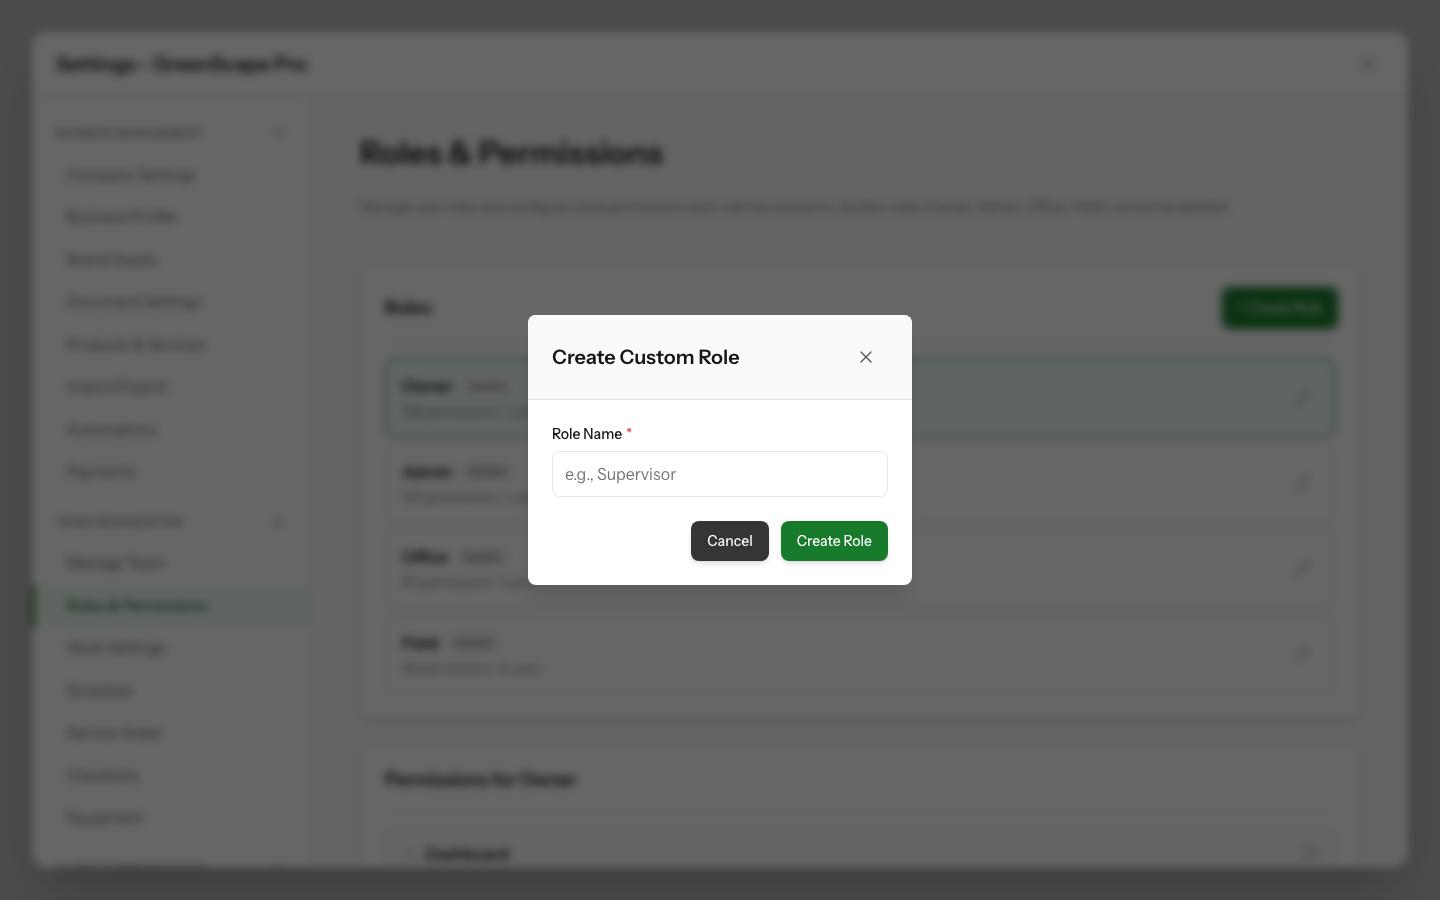
- Click the + Create Role button
- Enter a name for your role (e.g., "Supervisor", "Billing Specialist")
- Click Create Role
The new role starts with zero permissions. You'll configure permissions in the next step.
Click to enlarge
Configuring Permissions
After creating a role, you need to assign permissions:
- Click on your new role in the roles list
- Click the Edit button (pencil icon)
- The permission matrix opens with all categories expanded
- Check the permissions you want to grant
- Click Save Changes
Using the Permission Matrix
The permission matrix organises permissions by category:
- Click a category header to expand/collapse it
- Check individual permissions to enable them
- The count indicator (e.g., "3/6") shows enabled vs. available permissions
- Categories with enabled permissions are highlighted
Tips for Permission Selection
- Start with minimal permissions, add more as needed
- Think about what the person needs to do their job
- Consider what they should NOT have access to
- Test with a colleague before rolling out widely
Common Custom Role Examples
Supervisor
A team lead who can manage jobs and visits but not financial matters:
| Category | Permissions |
|---|---|
| Dashboard | View |
| Contacts | All |
| Properties | All |
| Jobs | View, Create, Update, Close, Assign Team |
| Visits | All |
| Schedule | View, Update |
| Time Entries | View, Create, Update |
Billing Specialist
An accountant who focuses only on financial records:
| Category | Permissions |
|---|---|
| Dashboard | View |
| Contacts | View |
| Invoices | All |
| Payments | View, Create, Allocate, Export |
| Reports | View, Export |
Dispatcher
Someone who manages the schedule but doesn't handle quotes or invoicing:
| Category | Permissions |
|---|---|
| Dashboard | View |
| Contacts | View |
| Properties | View |
| Jobs | View, Create, Update, Assign Team |
| Visits | View, Create, Update |
| Schedule | View, Update |
| Teams | View |
Senior Technician
A field worker with additional responsibilities:
| Category | Permissions |
|---|---|
| Dashboard | View |
| Contacts | View |
| Properties | View |
| Jobs | View |
| Visits | View, Start, Complete, Skip, Reopen |
| Time Entries | View, Create, Update |
| Expenses | View, Create |
| Checklists | View |
| Equipment | View, Update |
Editing an Existing Role
To modify a custom role's permissions:
- Go to Settings > Roles & Permissions
- Click on the role you want to edit
- Click the Edit button (pencil icon)
- Adjust permissions as needed
- Click Save Changes
Changes take effect immediately for all users with that role.
Deleting a Custom Role
To delete a custom role:
- Go to Settings > Roles & Permissions
- Find the role you want to delete
- Click the Delete button (trash icon)
- Confirm the deletion
Users Will Be Affected
If any users are assigned to the role you're deleting, they'll lose their role assignment. You'll need to reassign them to another role afterward.
System Roles Cannot Be Deleted
The four system roles (Owner, Admin, Office, Field) are built into YardPilot and cannot be deleted. However:
- Owner and Admin permissions can only be modified by the Owner
- Office and Field permissions can be modified by Owners and Admins
Best Practices
Start Simple
Begin with the system roles. Only create custom roles when you have a clear need that isn't met by Owner, Admin, Office, or Field.
Name Roles Clearly
Use descriptive names that reflect the role's purpose:
- Good: "Senior Technician", "Billing Specialist", "Team Lead"
- Avoid: "Role 1", "Custom", "Test"
Document Your Roles
Keep notes on why each custom role exists and what it's used for. This helps when onboarding new staff or reviewing permissions later.
Review Regularly
Periodically review your custom roles to ensure they still match your business needs. As your team grows, you may need to adjust permissions.
Principle of Least Privilege
Give each role only the permissions it needs. It's easier to add permissions later than to deal with someone accessing something they shouldn't.
Troubleshooting
Can't Create Role
If the "+ Create Role" button isn't visible:
- You may not have Owner access
- Check with your account owner
Changes Not Taking Effect
If permission changes don't seem to work:
- Have the affected user refresh their browser
- Clear the browser cache
- Log out and back in
Role Appears Empty
If your new role shows "0 permissions":
- You need to edit the role and add permissions
- New roles start with no permissions by default
Next Steps
- View all available permissions
- Understand system roles
- Add team members with your new role