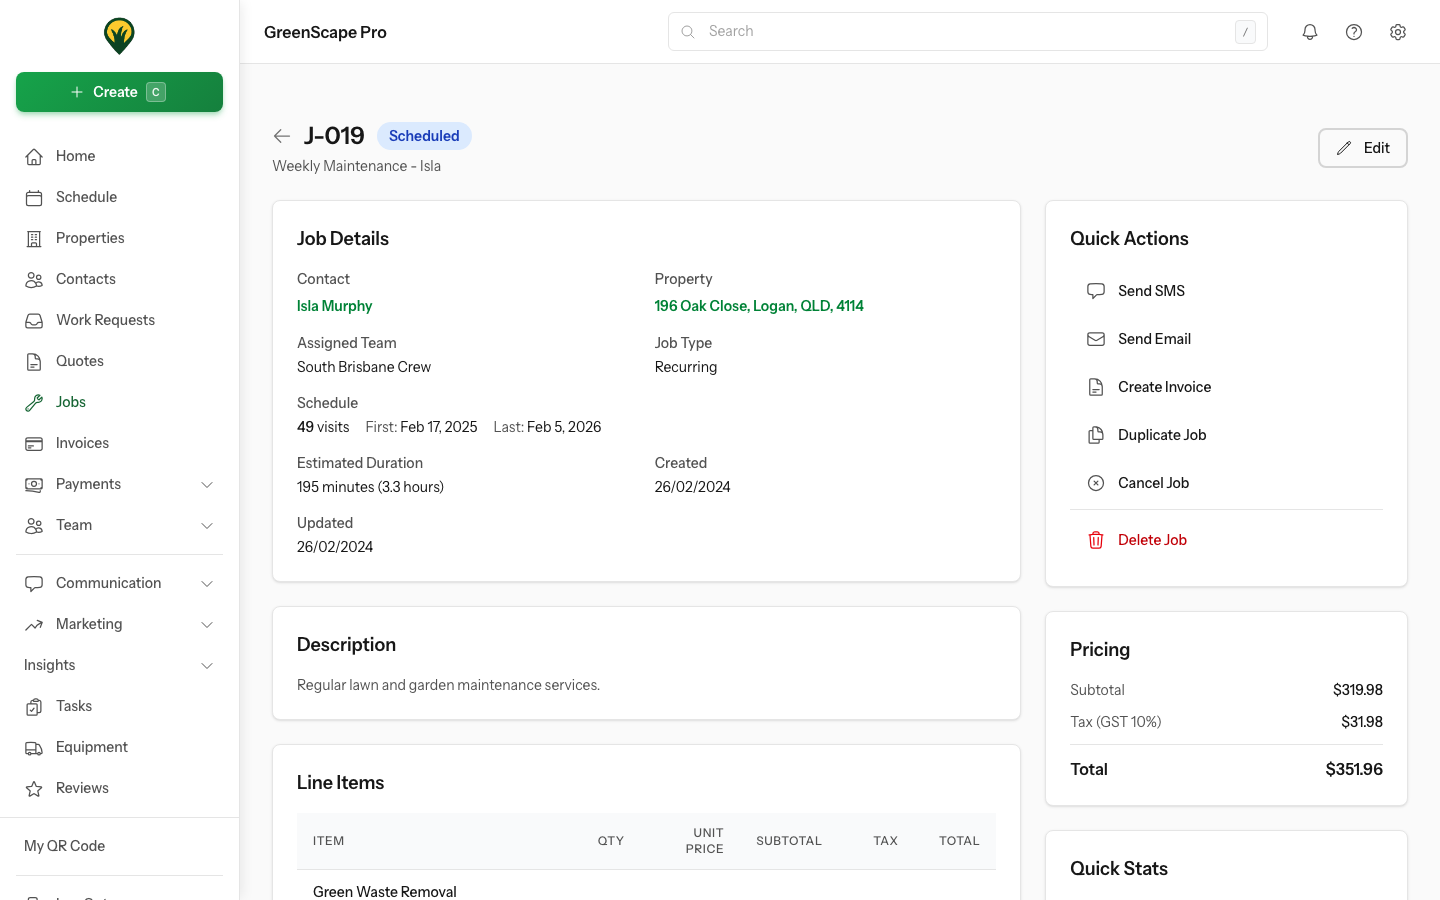
Appearance
Visit Completion
When your crew finishes a visit, they record what was done.
Completing a Visit
From the mobile app:
- Open today's schedule
- Tap the visit
- Tap Start Visit when arriving
- Complete the work
- Tap Complete Visit
- Add notes and photos
- Submit
Click to enlarge
What to Record
Time Tracking
- Start time - When work began
- End time - When work finished
- Actual time is tracked automatically if using Start/Complete
Attachments
Attach photos, documents, and other files directly to the visit using the Attachments section.
Adding Attachments:
- Open the visit detail
- Find the Attachments section
- Click Add and select files from your device
- Files upload automatically with progress indicator
Supported File Types:
- Images: PNG, JPG, JPEG, GIF, WebP
- Documents: PDF
Viewing Attachments:
- Click any thumbnail to open the full-size preview in the lightbox
- Use arrow keys or buttons to navigate between attachments
- Click Open in new tab for non-image files
Customer Visibility:
Control whether customers can see each attachment in the client portal:
- Click on an attachment to open the preview
- Click the Visible/Hidden toggle button
- Green "Visible" means customers can see it
- Gray "Hidden" means it's internal only
Use Customer Visibility
Mark before/after photos as visible to share proof of work with clients. Keep internal notes or issue documentation hidden.
Removing Attachments:
- Click the attachment to open the preview
- Click the Remove button
- Confirm the deletion
WARNING
Deleted attachments cannot be recovered.
Notes
Add relevant notes:
- What was done
- Any issues encountered
- Follow-up needed
- Client feedback
Checklist
If the job has a checklist, mark off items as you complete them. Each item records who completed it and when.
- Find the Checklist section on the visit
- Tap/click each item as you complete it
- A checkmark appears with your name
TIP
Complete checklist items as you go, not all at once at the end. This is more accurate and prevents forgetting steps.
See Using Checklists on Visits for more details.
Office Review
Completed visits appear in the office dashboard for review:
- Verify time recorded
- Review attachments and set customer visibility
- Check notes
- Approve for invoicing
Next Steps
Once visits are complete:
- Create invoices for completed work